In this tutorial I will show you how to create a basic object
interaction using very simple objects. First create four Objects - three
Cubes and a Sphere.
Ramp: X:400, Y:30, Z:300
Floor: X:1000, Y:40, Z:500
Box: X:100, Y:200, Z:200
Ball: Radius: 50
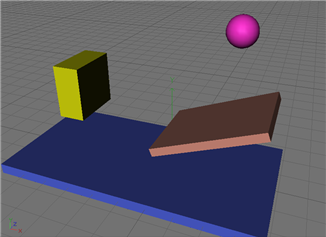

Make all objects editable. Now go to Dynamics and create Solver Object and Gravity. Insert everything into Solver Object.
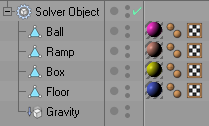
For Ball, Ramp, Box and Floor create Rigid Body Dynamic(Right click on the object’s name, Dynamics Tags->Rigid Body Dynamic). Now click play.

Notice that everything is falling down. This happens because inside every Rigid Body Dynamic Tag the Total Mass equals 1. Change the Total Mass to 0 for objects Floor and Ramp, so Gravity and Collision with objects won’t affect their position. For Ball change it to 10.
Make sure that you are on the first frame. Click play. This time Floor and Ramp stay on their positions, but other objects fly through them, because Collision isn’t set. Click on the Rigid Body Dynamic Tag and change the options.
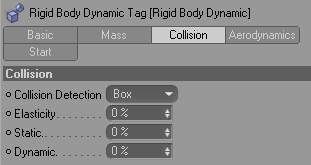
There are a few problems. First animation ends too quickly, the Ball moves too slowly and the objects don’t touch each other.
To change the animation length click on the Solver Object, then on the Main tab change Stop to 300F. Also change it on the Timeline.

To make objects touch each other, again, go to Solver Object and Detail tab, change Collision Eps to 2. Go to Main tab and change Oversampling to 32. Click on the Gravity Object and change strength to 4. We have a Ball, so we want it to bounce. Go to the Rigid Body Dynamic Tag of every object except Box to change Elasticity to 100%, in the Box change it to 20%. Click play.
Check out my new site about online games - gry online
Cinema 4d Tutorials: Grass
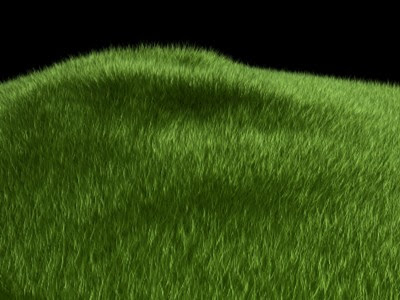
This tutorial shows how to make 3d grass in Cinema 4d 11, but can also be made in earlier versions of the application. I didn’t use here any additional plugins, only Fur Object.
First, we have to place our grass on an Object. We could use Plane and then Magnet Tool to simulate ground, but instead will use Landscape.
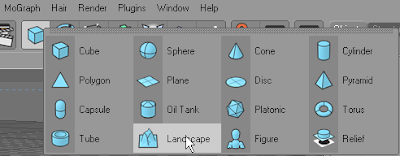
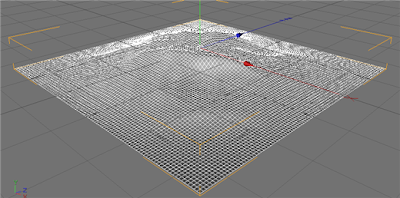
Now when you have created Landscape, Make object editable (shortcut C).
Create a new material to simulate ground. We don’t want our ground to reflect light, so turn off Specular. Go to color tab, it can be plain dark brown, but we will choose Noise.
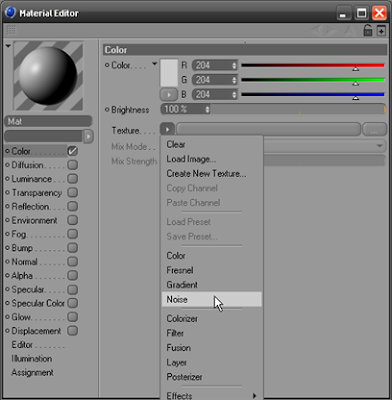
Click on the button to go to the noise options

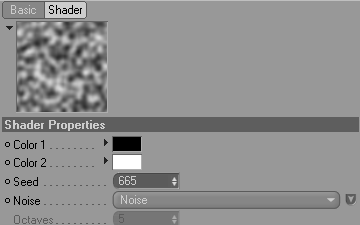
Change colors which are best for ground. I’ve used two dark brown colors.

Drag the material on the Landscape.
It’s time to apply Fur to our Landscape. Select Live Selection Tool, check Only Select Visible Elements and change Radius to 100. Make sure that Polygon Tool is selected.

Select all polygons.
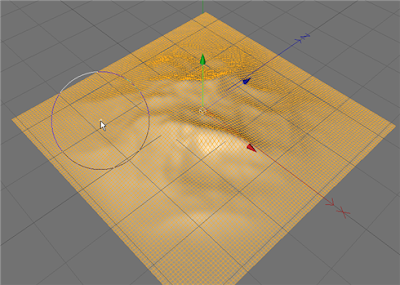
Now choose Hair->Fur. Click on the Fur Material.

Go to the Basic tab in the Attributes Window and select the following options.

Color

Specular
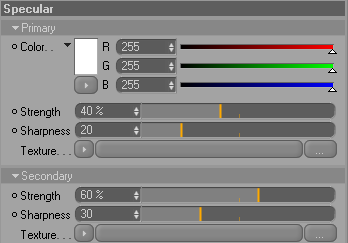
Thickness
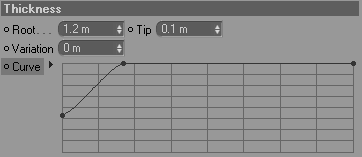
Scale

Kink
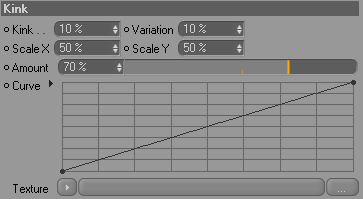
Wave

Click on the fur.

Change options.

Done.

Thank you for
visit our blog.
Hope you can learn something new from this tutorial. You can share your thought & suggestion with us though comments below.
Hope you can learn something new from this tutorial. You can share your thought & suggestion with us though comments below.
Discover the
top most quality clipping
path, clipping
path serviceor low cost clipping path, image
masking service&photo
editingin
reasonable price with quick turnaround time from Clipping Design, one of the most popular outsourcing clipping path service provider.
Clipping Design always ready to provide 100% handmade clipping path, photoshop clipping path, clipping path service, SEO service&photoshop maskingwith Guaranteed client satisfaction on top quality clipping path service&masking service .
Clipping Design always ready to provide 100% handmade clipping path, photoshop clipping path, clipping path service, SEO service&photoshop maskingwith Guaranteed client satisfaction on top quality clipping path service&masking service .
Thank you…
Reference:tomdecker.blogspot
No comments:
Post a Comment