
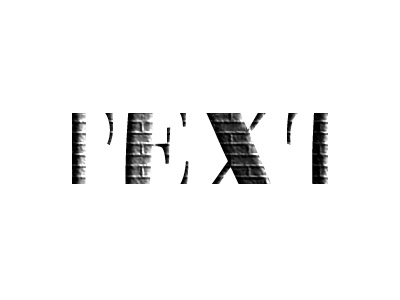
Start by typing your text.

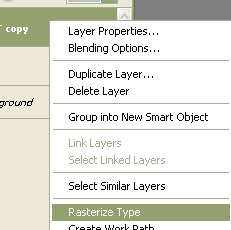
Right click the layer and select rasterize.
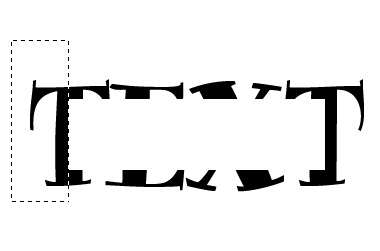
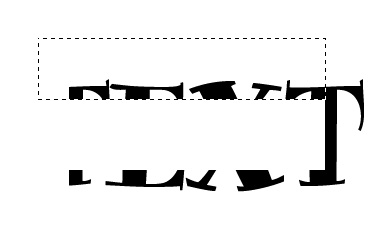
Create a rectangular selection using rectangular marquee tool.

Press Ctrl+Shift+J to copy paste the selection in a new layer. Hide the layer.

Similarly split the parts of the text in different layers.
Once you’ve done the parts of the text, unhide the middle text layer.

From filter menu select sketch>>plaster. Apply settings as shown.

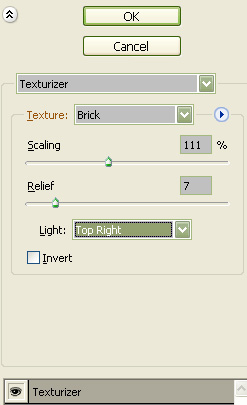
Create new effect layer form the bottom of the filter menu. Select texture>>texturize. Apply settings as shown.
Press Ctrl+M to open curves window. Apply settings as shown.


Press Ctrl+F to apply the same effect to all the layers.

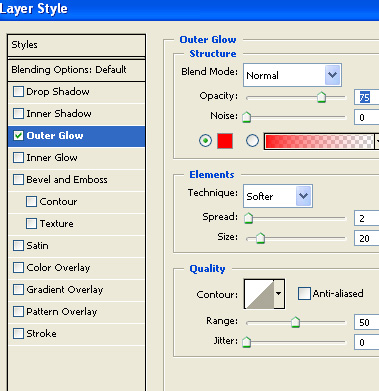
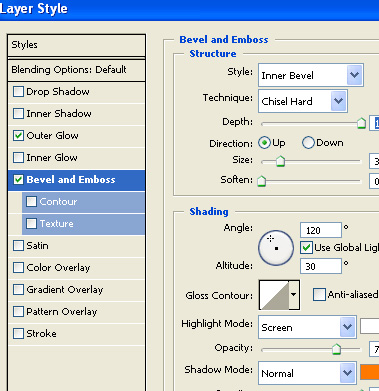
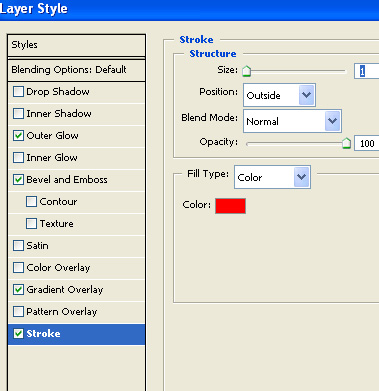
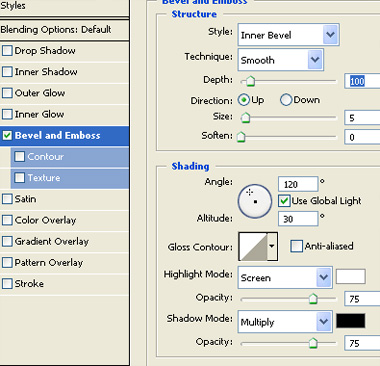
Select the middle text layer. Double click the layer to open layer style window. Apply layer style with the settings shown.

Fill the background with black color.

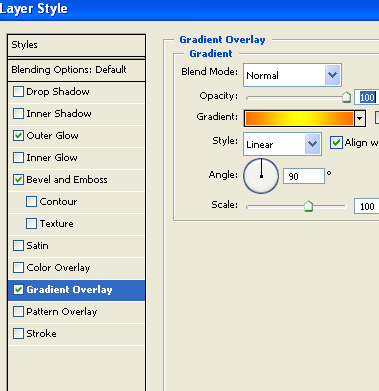
Select bottom text part layer. Double click the layer to open layer style window. Apply layer style with the settings shown.
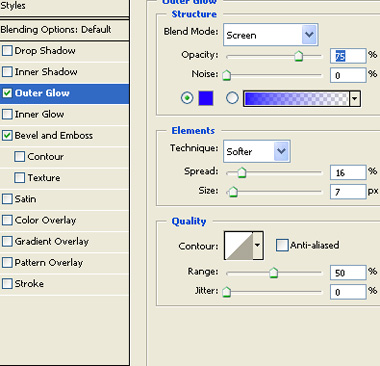

Similarly apply the same layer style to rest of the layers. You can change the outer glow color.
Thank you for visit our blog.
Hope you can learn something new from this tutorial. You can share your thought & suggestion with us though comments below.
Hope you can learn something new from this tutorial. You can share your thought & suggestion with us though comments below.
Discover the top most quality clipping path, clipping path service or low cost clipping path, image masking service & photo editing in reasonable price with quick turnaround time from Clipping Design, one of the most popular outsourcing clipping path service provider.
Clipping Design always ready to provide 100% handmade clipping path, photoshop clipping path, clipping path service, SEO service & photoshop masking with Guaranteed client satisfaction on top quality clipping path service & masking service .
Clipping Design always ready to provide 100% handmade clipping path, photoshop clipping path, clipping path service, SEO service & photoshop masking with Guaranteed client satisfaction on top quality clipping path service & masking service .
Thank you…
Reference: avivadirectory
No comments:
Post a Comment