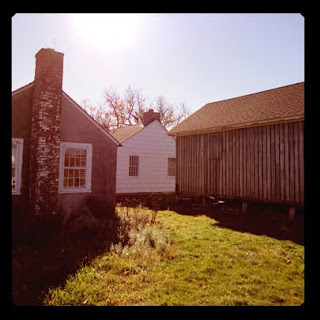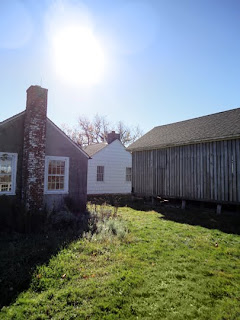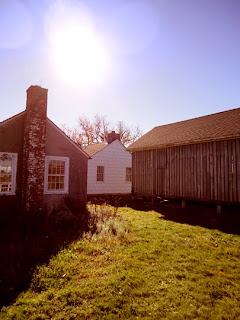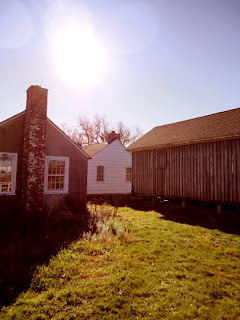
While photography has come along way in the past 30 or 40 years people still like the look of vintage photographs. The vintage look shows up in magazines, on websites and in advertisements. This tutorial will show you how to take any photograph and give it that vintage look. If you don't have a photograph right now then feel free to download the one I have used in this tutorial.
Step One
First, open your photo in Photoshop, if you need to do any touching up then do so now. Good vintage photos come from good original photos so make sure it looks it's best.

Step Two
Go to your "Image" menu and then to the "Adjustments" menu and click on "Color Balance". Here you will see a few sliders, at the bottom there are check boxes for Shadows, Mid tones, and Highlights. Click on "Midtones", at the top are 3 boxes, change these settings to:
+50, 0, -20
It should look something like this:

Step Three
Go back to the "Image" menu, then to "Adjustments" and now click on "Hue/Saturation". At the top it should say "Master", use the drop down menu to change that to "Blues" and change the "Saturation" setting to -40
It should now look a bit like this:

We're almost done!
Step Four
The last thing we really want to do is to lighten some of the shadows to simulate a poor exposure. Go back to the "Image" menu, then "Adjustments" and click on "Levels". At the bottom of the Levels menu there is a part called "Output Levels" and should have two boxes, one that says 0 and one that says 255. Change the "0" setting to 10.
It should look like this:

Thank you for visit our blog.
Hope you can learn something new from this tutorial. For your valuable suggestion please put your comment below.
Hope you can learn something new from this tutorial. For your valuable suggestion please put your comment below.
Get brilliant qualities clipping path, clipping path service & image masking service from Clipping Design. Clipping Design always assures photo editing at quick turnaround time with guaranteed client satisfaction on top quality photoshop masking .
You can also discover 100% handmade clipping path & clipping path service in reasonable price.
You can also discover 100% handmade clipping path & clipping path service in reasonable price.
Thank you…
Reference: edspstuts.blogspot
No comments:
Post a Comment